
How To Teach Letter Recognition At Home: 7 Easy Activities Without Worksheets

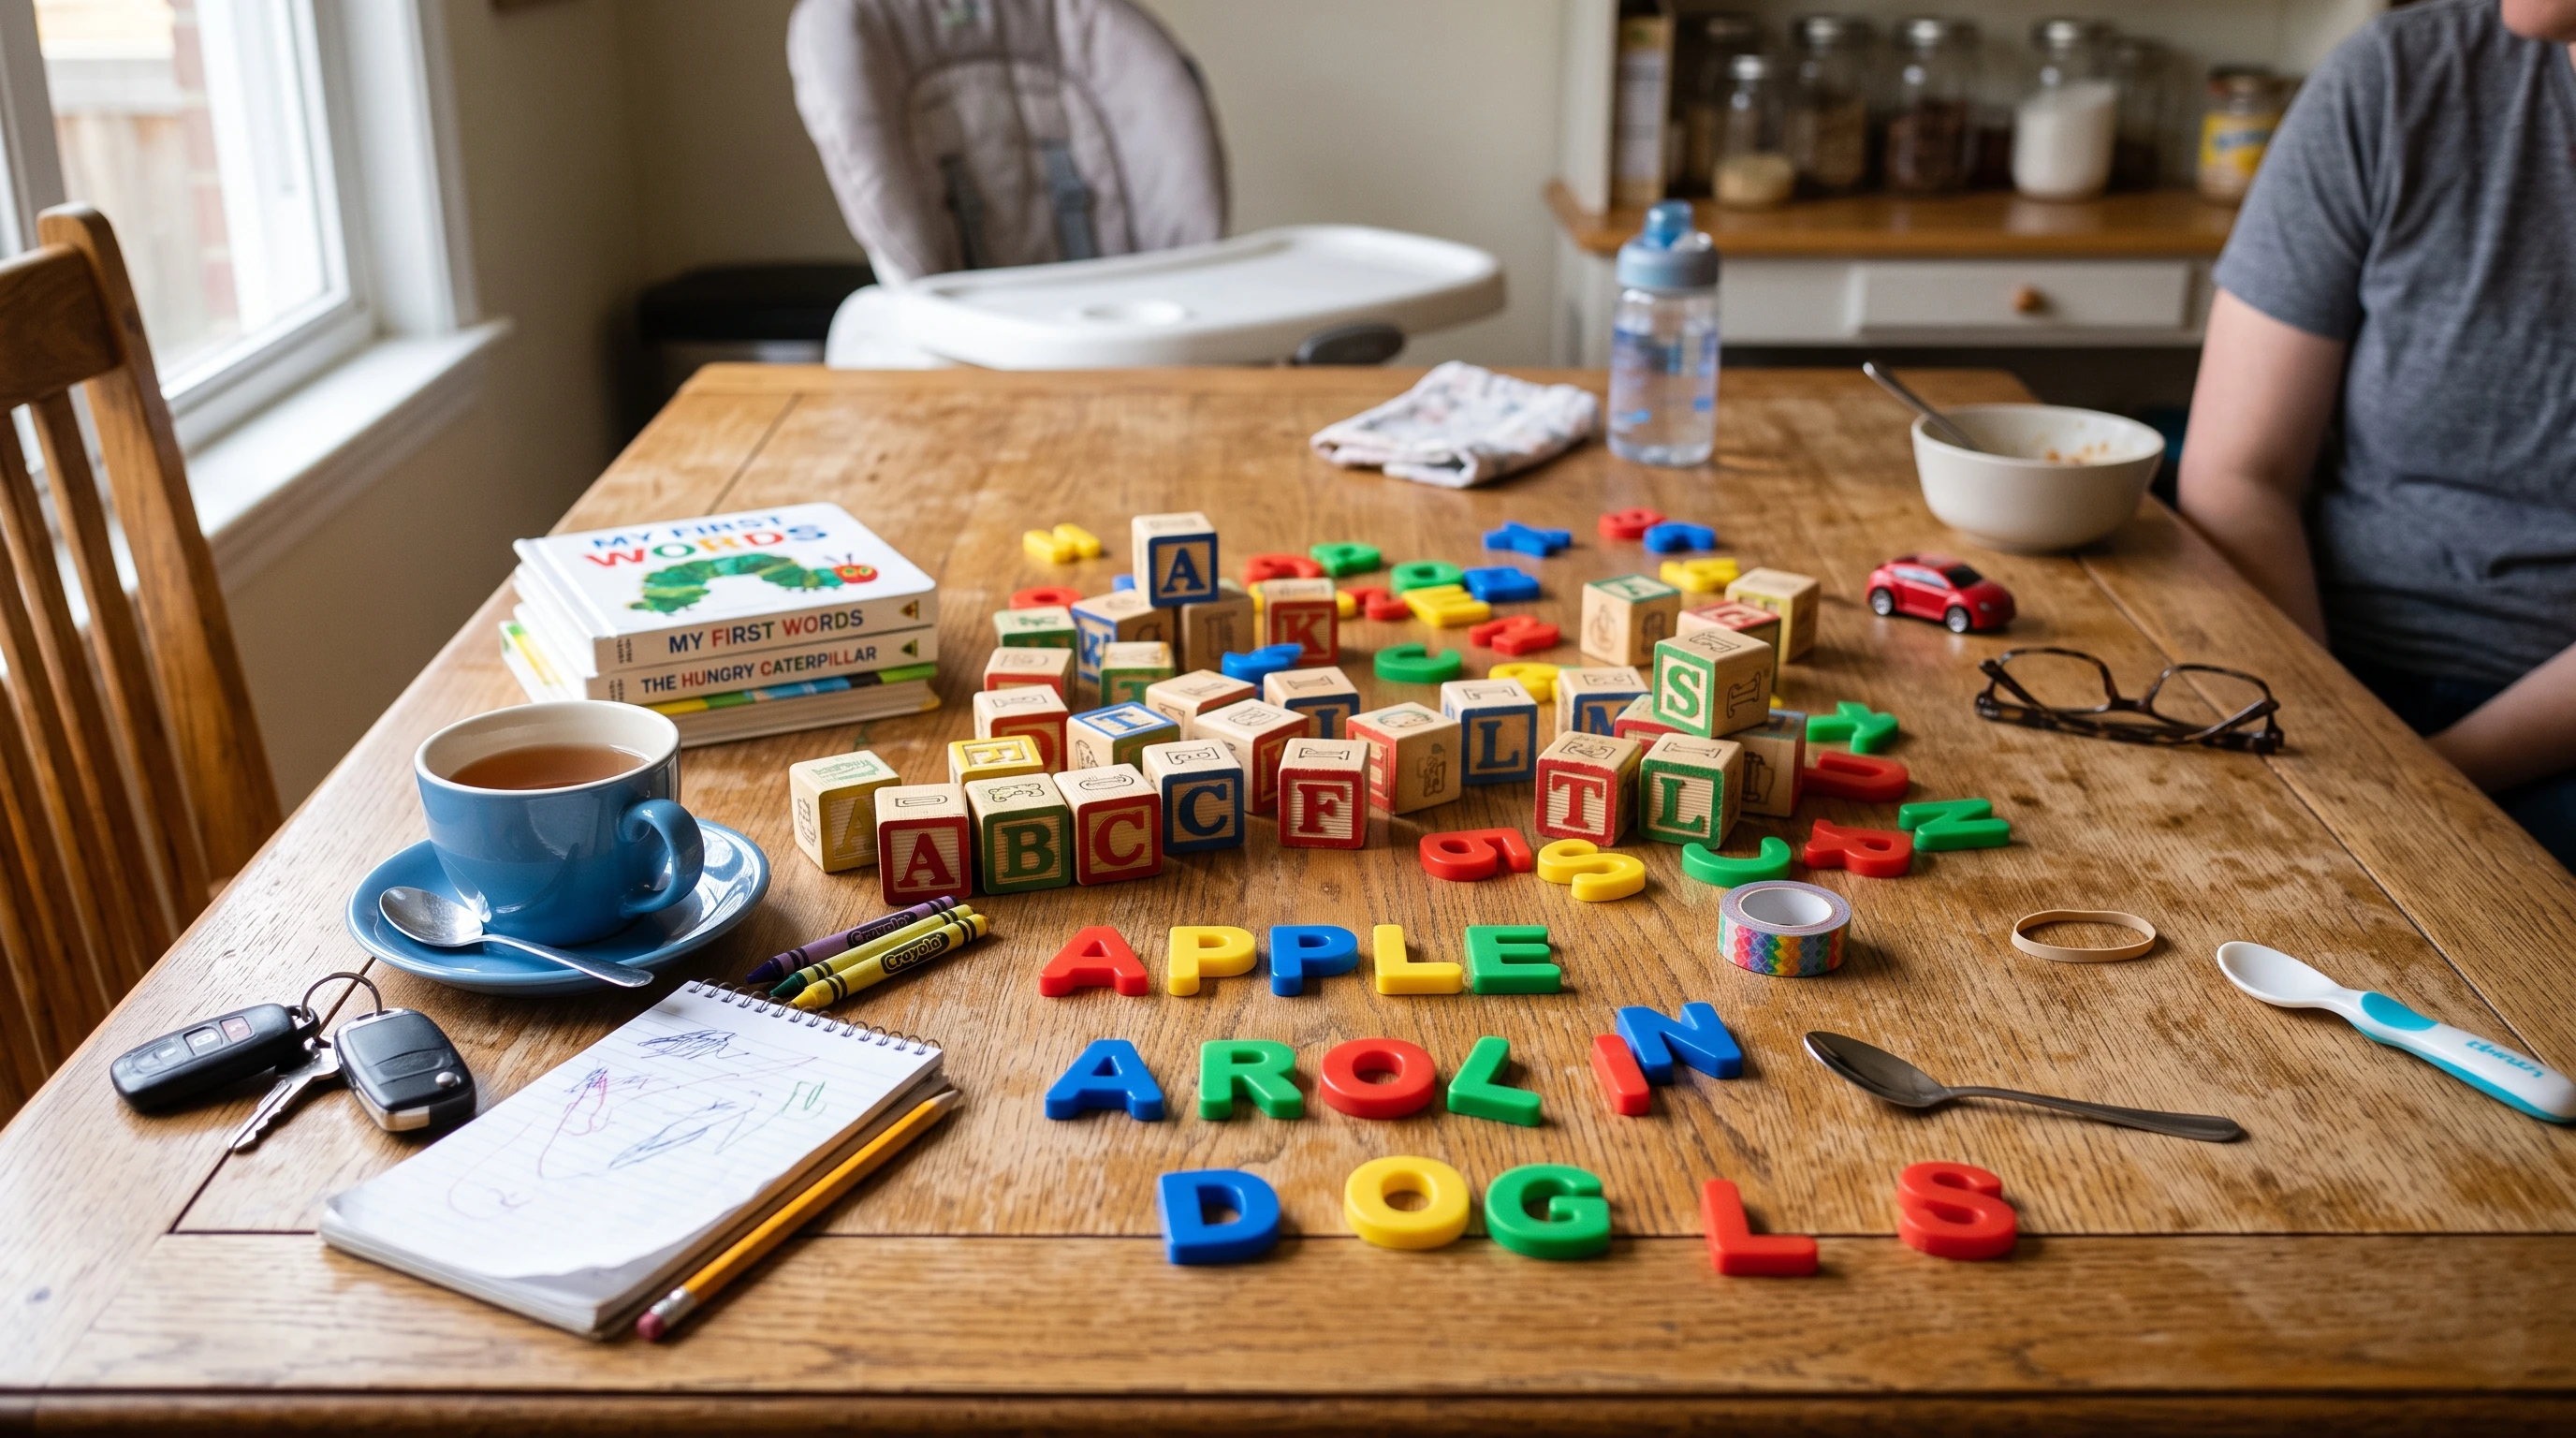 Teaching letter recognition at home doesn’t have to mean sitting down with flashcards or filling out endless worksheets. I’ve found that letters pop up everywhere in daily life, and mixing learning with play works especially well for young kids. Natural routines and some creativity go a long way when it comes to helping little learners spot, name, and get excited about letters.
Learning letters through play feels less like formal “school time” and more like a fun part of the day. Little hands like to touch, move, and explore, so giving kids opportunities to do that with real objects or during family activities really boosts confidence and interest. These seven hands-on activities are all things you can do with items already in your home, and they work without ever printing a worksheet.
Step 1: Start With Meaningful Letters
Kicking things off with the letters that matter most keeps kids invested right from the start. Names are huge at this stage. I always begin by pointing out the first letter of my child’s name, or other important names in our family, like parents, siblings, pets, or even best friends. Kids light up when they spot these special letters in the wild.
How to Make It Personal:
- Print or write your child’s name on the fridge or their bedroom door.
- Let them decorate a big cardboard letter that matches their first initial.
- Talk about the letters in favorite foods, toys, or TV show titles (think “M” for macaroni, “P” for Paw Patrol).
Asking questions like “Do you see the ‘E’ for Emily on this cereal box?” makes connections that actually stick. If your child notices their letter on a license plate or a poster, get excited with them and talk about other places you might spot it later. Making letter learning personal really helps connect the dots.
Step 2: Teach Just a Few Letters at a Time
Letter overload is real. Trying to work on the whole alphabet at once usually ends in overwhelm. I choose two or three letters to focus on each week and weave them naturally into play and conversation. Once those feel familiar, I swap in a couple more.
Tips for Keeping It Simple:
- Pick letters your child seems interested in or bump into often in books or signs.
- Revisit letters from previous weeks, mixing old favorites with new ones.
- Don’t worry about following ABC order. Real-world exposure matters more than going from A to Z.
This approach builds confidence and keeps frustration low. Seeing success with a small set is way more motivating than struggling with all 26. Mixing letters up and reviewing old ones helps with memory and prevents boredom as well.
Step 3: Use Hands-On Objects for Play
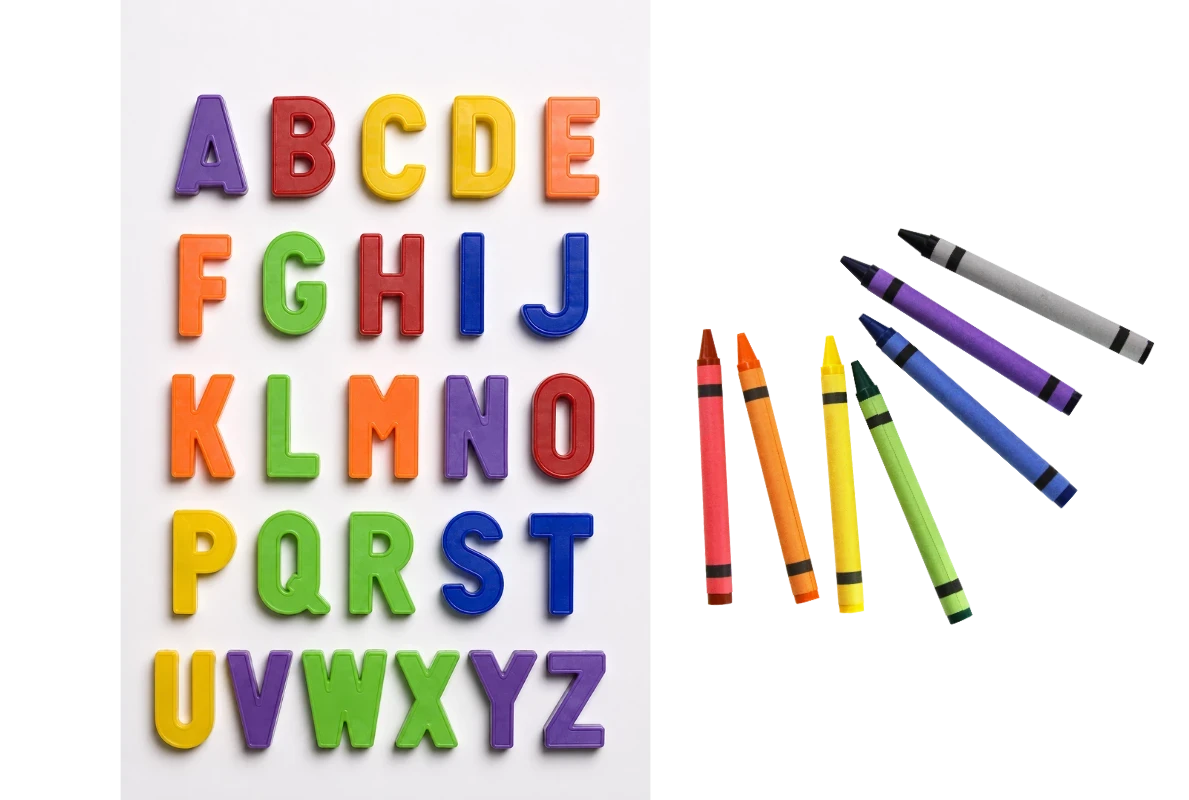
Kids love to hold, stack, or build with real things. Stashing a basket of magnetic letters, alphabet blocks, or foam letters in a main play area invites tons of natural learning. Having these on hand makes it easy to turn downtime into a quick letter game.
Ideas for Hands-On Practice:
- Stick magnetic letters to the fridge or a baking tray. Ask your child to find the “letter of the day” or spell their name.
- Hide foam or wooden letters in a sensory bin with rice or beans and ask kids to dig for a specific letter.
- Use letter blocks to build tall towers. Say the letter name as you stack each one.
- Create a mystery bag with a few random letters, and ask your child to pick one and name it. Make it a guessing game for extra excitement!
I often leave out a few “spotlight” letters in visible places so my child will notice and ask about them throughout the day. Rotating which letters are left out keeps curiosity high and helps retain interest in the activity.
Step 4: Play Letter Hunts Around the House
A scavenger hunt vibe gets everyone moving and keeps things playful. I’ll grab a basket and announce, “Let’s find things that have the letter S on them!” Suddenly, books, puzzles, food packaging, and mail become part of the learning game.
Ways to Hunt for Letters:
- Find objects shaped like specific letters. (For example, a door frame for an “H.”)
- Search for written letters on signs, menus, or product labels. Kitchen cabinets and pantry items are full of letters!
- Use sticky notes to “tag” objects whose names start with the letter you’re practicing.
- Snap pictures of found letters with your phone so you can look at them later together and talk about which was the trickiest to spot.
These hunts turn the whole house into a learning playground. They’re super easy to adapt based on your child’s favorite spots or current interests. You can also take the hunt outside and look for letters on mailboxes, street signs, or parked cars to keep things fresh.
Step 5: Practice With Books and Environmental Print
Letters are everywhere once you start looking. I keep a few alphabet books on hand, but the real magic happens when kids notice letters in everyday contexts—street signs, grocery lists, cereal boxes, even TV remotes.
How to Use Books and Everyday Print:
- Pick a bedtime story and ask your child to spot a focus letter on each page.
- Point out bold or colorful letters on packaging or signs when out and about. Describe the shapes and colors you notice to broaden their observations.
- Count how many times a favorite letter appears during a regular activity, like making a sandwich (e.g., “Look, bread has a ‘B’! How many ‘B’s can we find in the kitchen?”).
- Encourage your child to “read” signs or try to match letters on packages to letters they’ve learned. This helps build lasting connections and makes learning meaningful.
This kind of “reading the world” helps kids connect letters to real-life language, which really builds early reading skills. It also encourages curiosity, sparks questions, and creates opportunities for natural and authentic conversations about words and letters.
Step 6: Try Sensory Play for Tracing and Writing
Before kids have the fine motor control for writing with a pencil, hands-on sensory play gives them a fun way to “write” letters. This part is usually a hit because it’s messy and playful.
Fun Sensory Activities:
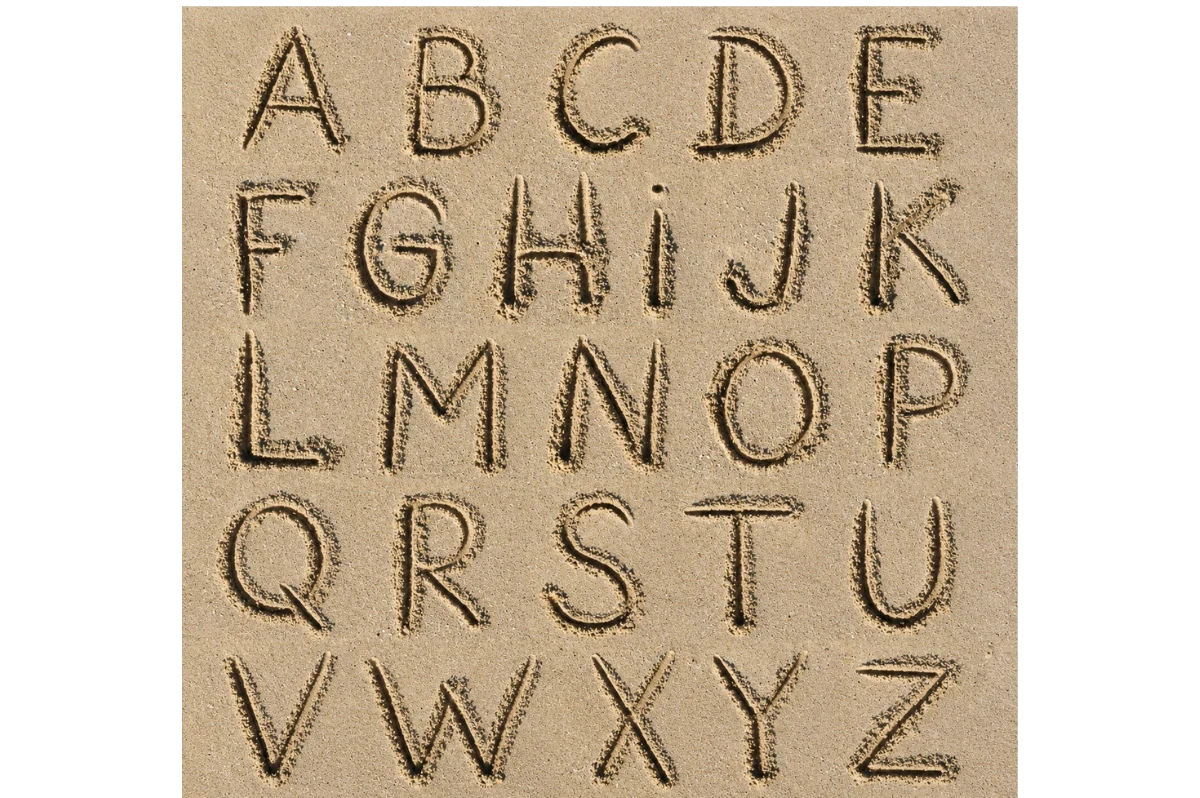
- Pour a thin layer of sand or salt into a tray and have your child draw letters with their finger.
- Make letters out of playdough “snakes” or trace letter flashcards into soft dough.
- Smooth shaving cream on the table and “write” letters with big, sweeping movements.
- Fill a ziptop bag with hair gel and food coloring, seal it, and let kids trace letters on the squishy surface.
Sensory play is not only great for fine motor skills, but it also gives kids a chance to feel how each letter is formed. Plus, it’s easy to wipe away mistakes and try again. For some extra variety, try using a paintbrush or chopstick to “write” in the sand or even trace letters with water on the sidewalk for outdoor fun.
Step 7: Keep Practice Short and Repeat Often
Kids learn best when activities are brief and spread throughout the day rather than squeezed into one big block. I usually keep “letter time” to just a few minutes, several times a day. Try it during snack breaks, while waiting for the bath to fill, or in the car.
Simple Routines for Building Confidence:
- Ask about letters spontaneously: “What letter does your name start with again?”
- Mix it up with games. Try “I Spy” with letters instead of colors for variety.
- Be enthusiastic about small wins and notice when your child remembers or spots a letter independently.
- Keep a sticker chart or draw stars each time your child remembers a letter. Celebrate each new letter learned with a dance party, a special snack, or a fun song.
Celebrating even tiny bits of progress boosts momentum and helps kids feel proud of what they’re learning, which encourages them to keep practicing. Keep language positive and focus on growth; genuine excitement goes a long way.
What If My Child Isn’t Remembering the Letters?
It’s totally normal for some kids to need lots of repetition or extra time before they recognize letters consistently. If your child isn’t remembering as quickly as you expected, it doesn’t mean you’re doing anything wrong or that they’re behind. Every child learns at their own pace and with their own style.
Practical Tips if Progress Feels Slow:
- Stick to just one or two letters until they stick, even if it takes a few weeks.
- Try switching up the activities. Some kids prefer sensory play while others love books or hands-on games.
- Keep building in plenty of praise and share your excitement about the little steps forward.
- Talk openly with your child’s teacher or a literacy specialist if you have concerns. They might share helpful pointers or additional approaches that work well at school.
The process takes time, but the playful approach is really effective for most children. If anything, worrying less and playing more is usually the way to go! Stay patient and stay playful, as enjoyment is often the secret ingredient to learning at this stage.
Final Tips for Letter Recognition Success
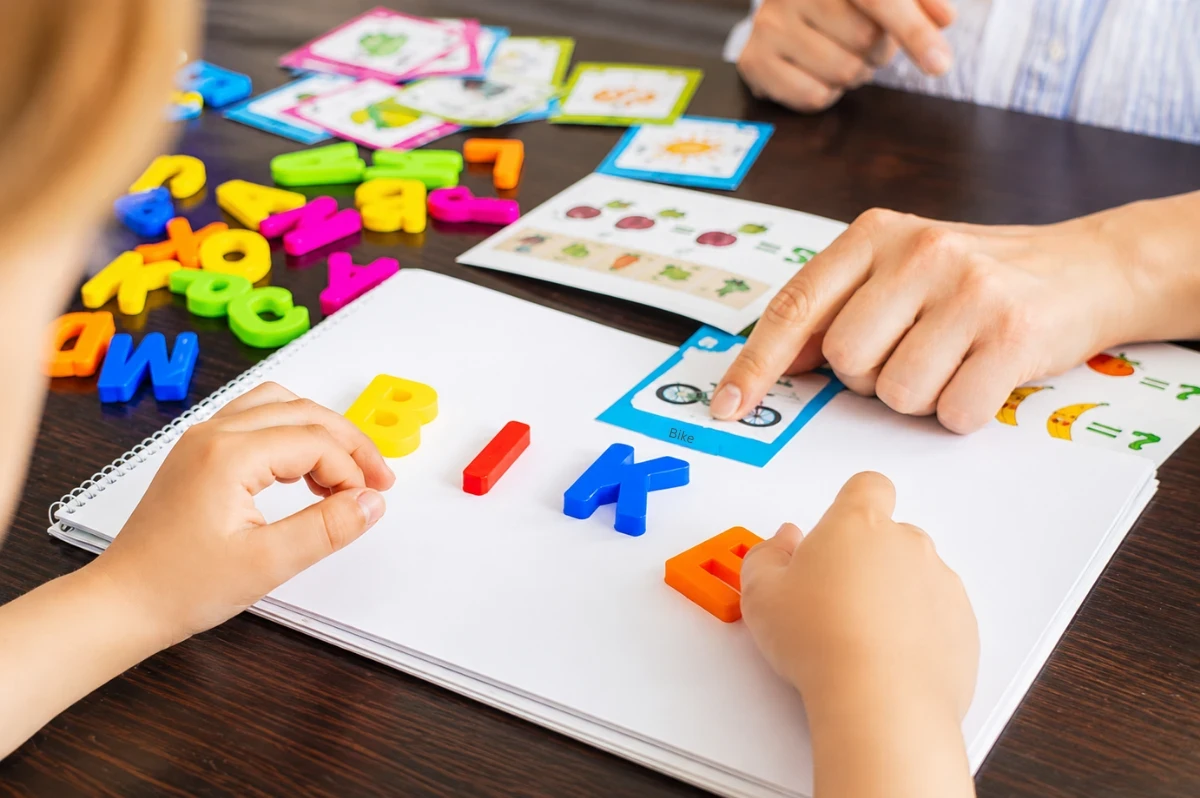
Teaching letters at home doesn’t have to look like schoolwork. Daily play, hands-on activities, and positive encouragement all make learning letters a smooth and happy part of everyday life. The more fun you both have, the more likely your child will learn, and actually love, the alphabet.
Your Quick Action Plan:
- Pick two letters to focus on this week, using your child’s name or favorites.
- Set out magnetic letters, blocks, or foam letters in a central place.
- Schedule a sensory letter activity or a family letter hunt one afternoon.
- Keep each session short, and mix letters naturally into your daily routine.
Which easy letter activity are you ready to try first? Share your ideas or questions below. I’m always up for swapping creative ways to learn!